

How To Apply
Tips:
1. Mineral Goddess Foundation Primer
Apply Mineral Goddess Foundation Primer evenly to the face. Let the primer dry
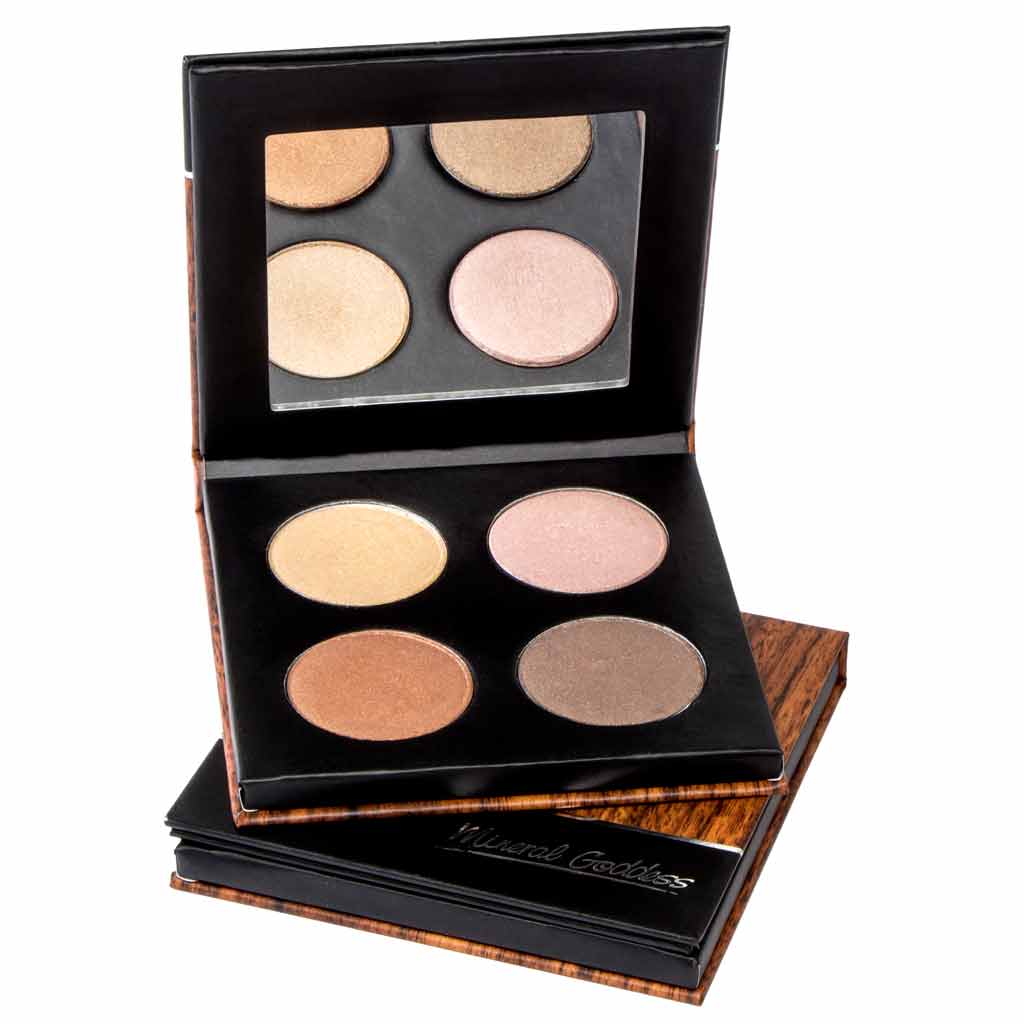
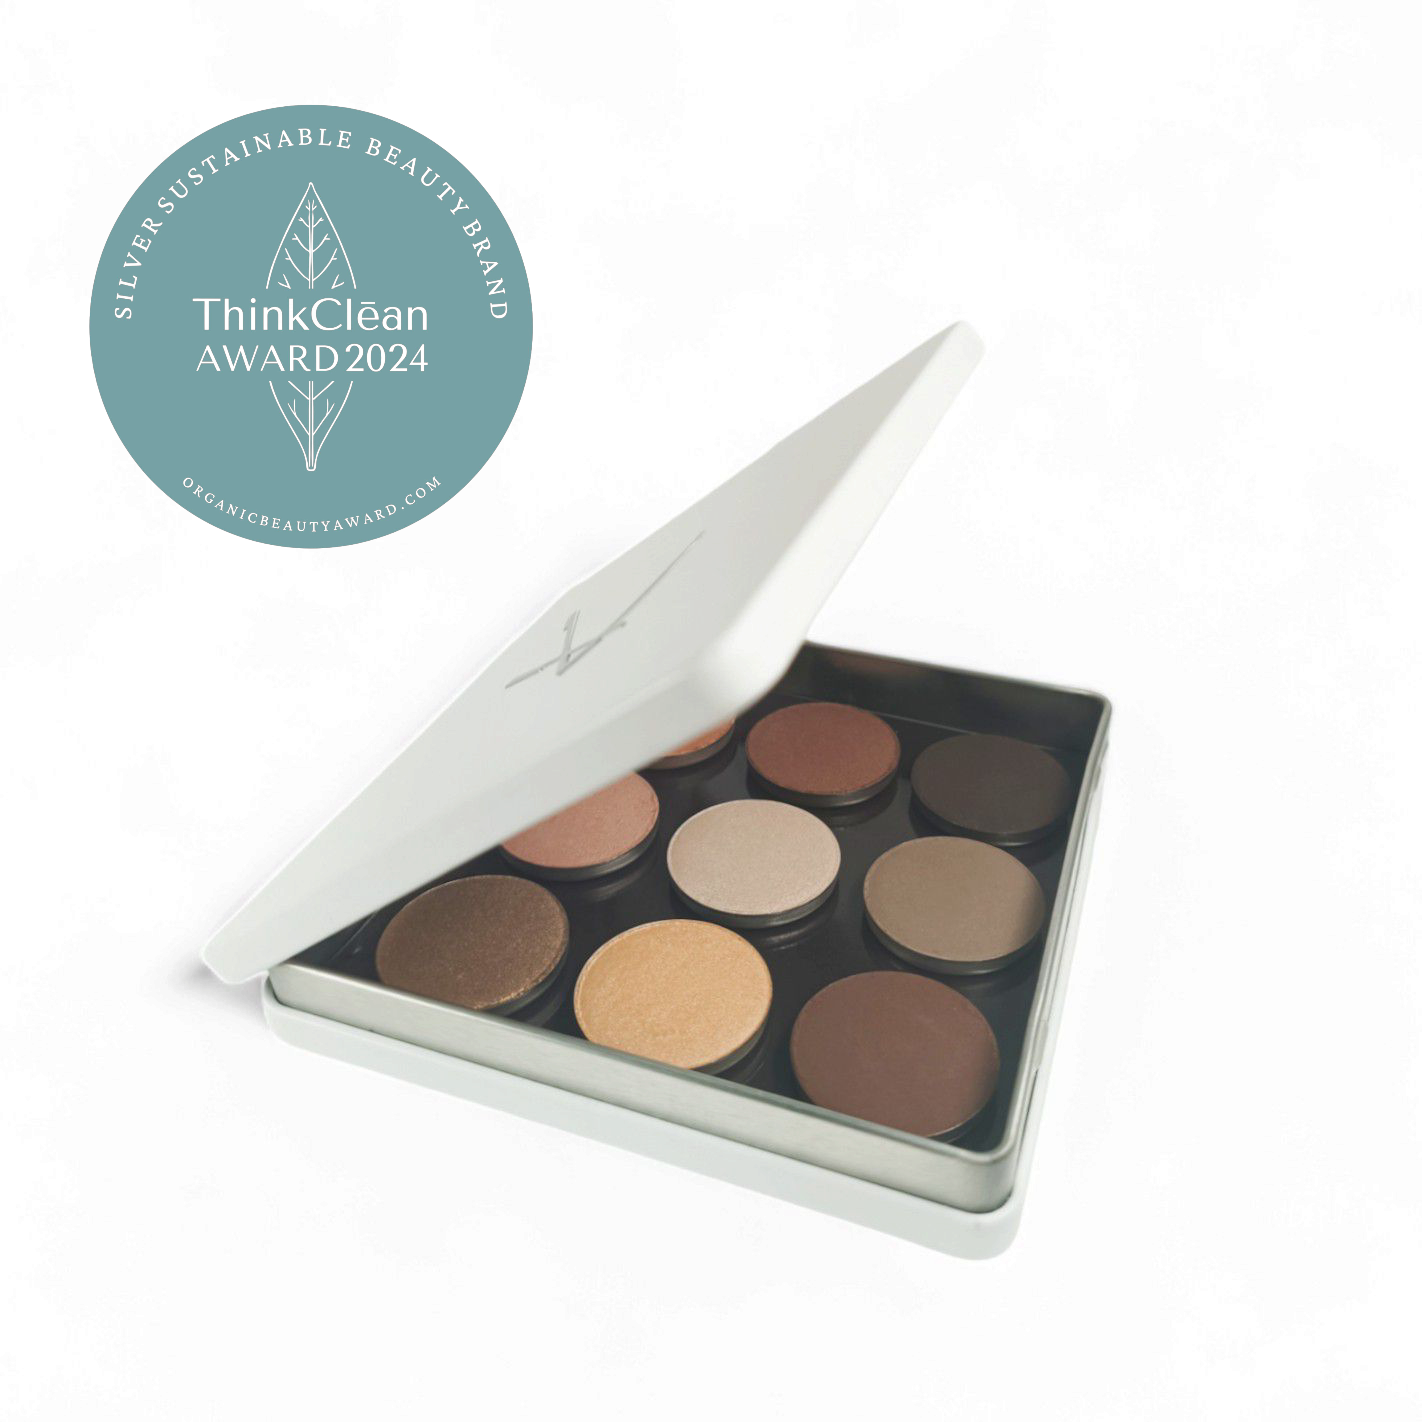
2. Applying Mineral Goddess Foundation.
- Dry application
Tap kabuki or preferred Brush into the lid of your Mineral Foundation, remove and tap or shake your brush back into the lid to remove excess powder. Brush and blend over the face evenly. Two fine coats are always better than one thick one. Then with a stippling, pressing motion with finger tips, sponge or a powder puff blend into the face. If you notice red under the bottom lash line or an area on the face that needs more concealing press some more loose mineral foundation into the area with a sponge or concealer brush, then blend into the skin.
- Wet application
If you prefer to use a fluid foundation you may mix the mineral powder with moisturiser and apply with a sponge. Blend and press into the skin. For a heavier coverage, lightly dust loose mineral foundation over the top. When you mix your foundation with moisturiser the consistency will be the same as a traditional fluid foundation.
3. Concealing
Use Kylie’s Professional Mineral cream concealer to cover blemishes, or mix loose mineral foundation with moisturiser to make a paste. Then apply with a concealer brush or pat loose mineral foundation into the problem area with a dry concealer Brush. Dust loose mineral Foundation over the rest of the face, blending over the concealed areas. Once your foundation application is complete you may spray your face with a refreshing rose water or hydrating facial spray throughout the day and not harm your make-up.
4. Setting Powder
If excess shine is apparent or you will be having photo’s taken, dust setting powder over the face and blend into the face with a kabuki brush or pat with a powder puff. Setting Powder may also be used under Mineral foundation to minimise excess shine.
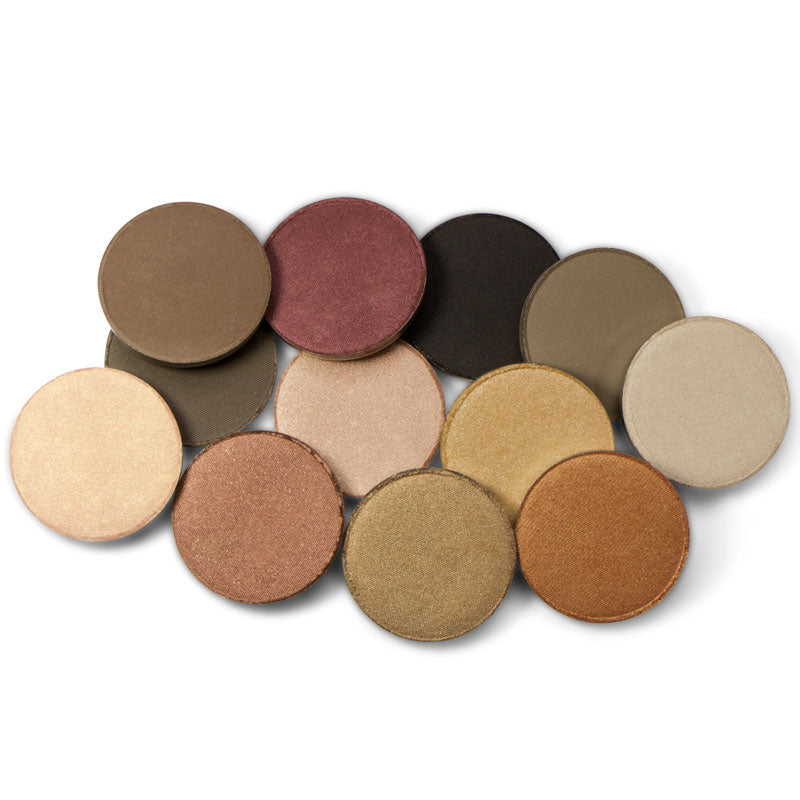
5. Contour face
se mineral foundation 3 to 5 shades darker. Or use Mineral Eyeshadow in Bark or Coffee Bean. To bring out cheek bones, dust darker foundation along the hollow from the center of the ear towards the mouth, stopping at the center of the eye. If you suck your cheeks in you can see this hollow easier. You need to make sure you cannot see where this shading starts or finishes. If the face is round you may blend along temples, dust under the chin or along jowl areas. If the nose is wide, dust along each side of the ridge of the nose. If a protruding lump is present on the nose dust over the lump. If a protruding forehead is present dust darker Mineral Foundation on the highest part. Hide the features that are not so desirable.
6. Highlight
ighlight with lighter colours, the features you would like to stand out like cheekbones and brow bones .This will create a lifting effect. If a wide flat nose apparent highlight a slim line along to ridge of the nose. For a fashion look you may like to highlight cheek bones with a shimmery powder or a light creamy lip colour. You can blend a small amount along cheek bones and brow bones. Always blend well.
7. Blush
se Mineral powder blush, Mineral eye shadow or Mineral Lipstick. Lightly blend on apples of the cheeks in a circular outward and upward motion, the (Shape of a "C”) Blend well.
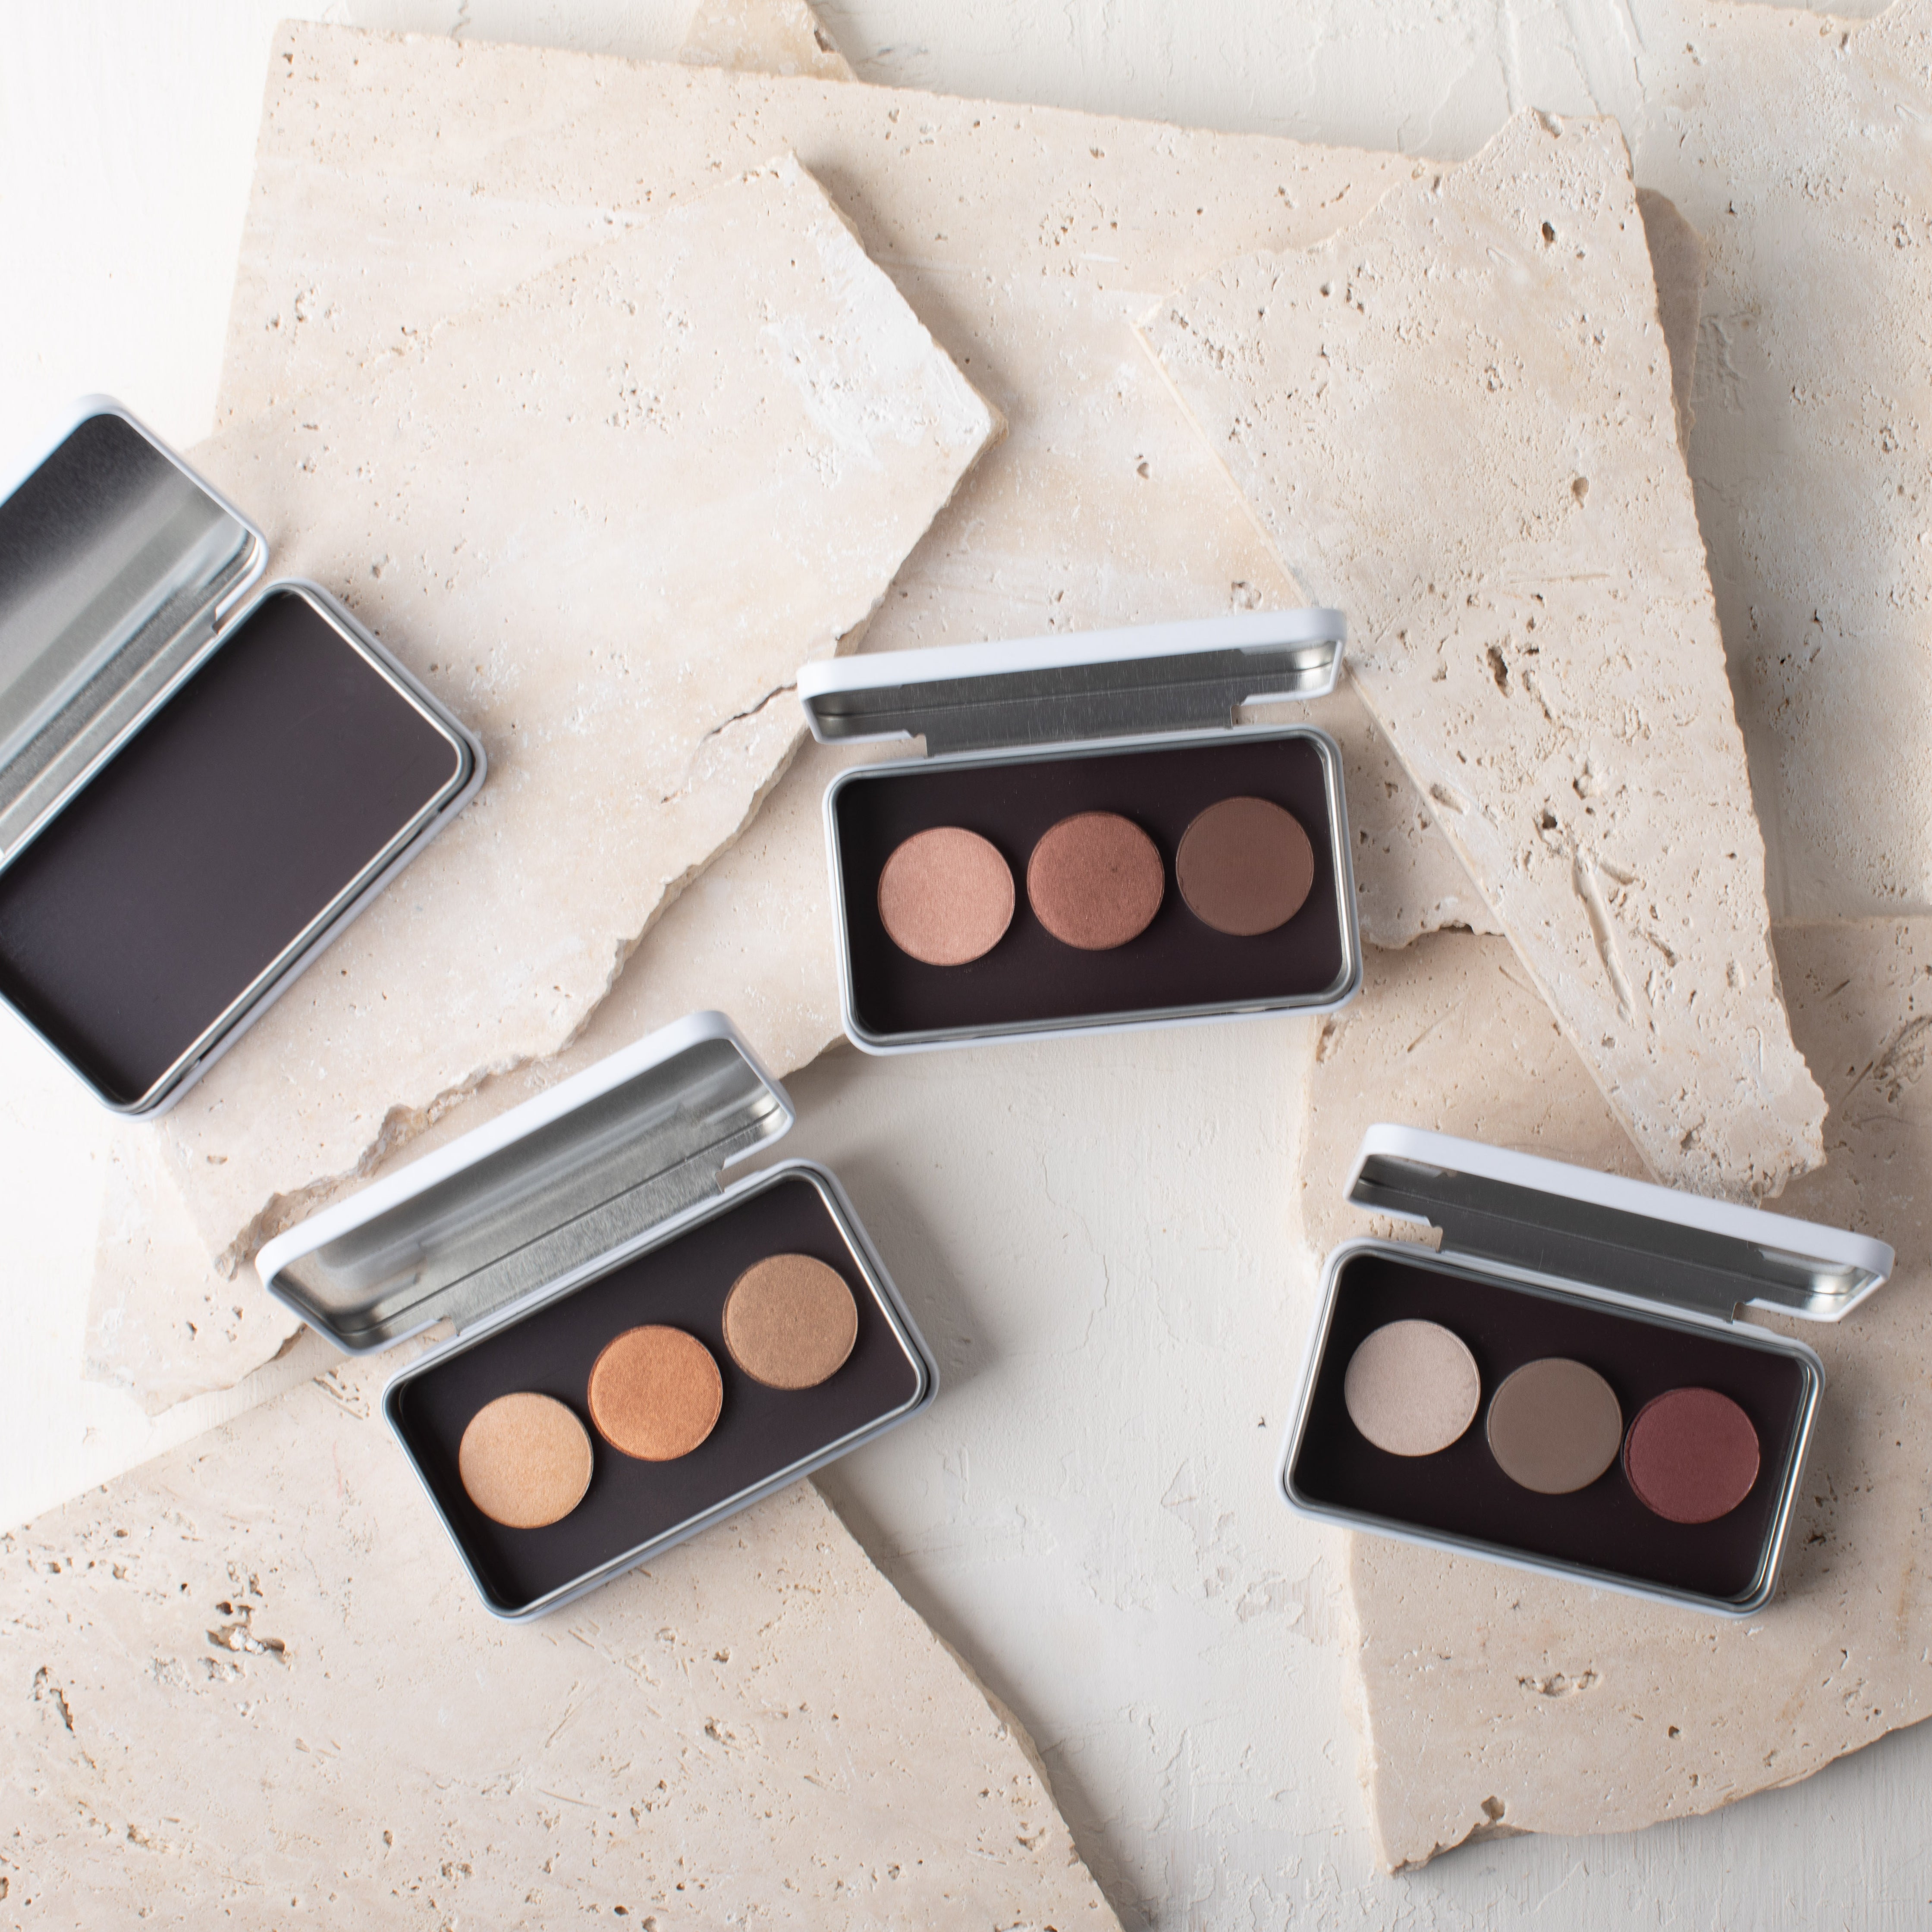
8. Eye shadow
Remember to tap your brush into the lid before applying your Mineral eye shadow. A Small amount goes along way.
- Lid
To highlight blend a pale or soft colour to cover the whole eye lid, this will open the eye out. If doing a, ‘fashion look’ blend only over the eye lid, stopping at the crease and blend along brow bone or only on brow bone and on the inside corner of the eye.
- Crease
Use a Medium to deeper tone Mineral Eye Shadow or Bronzer blending the colour into the crease of the eye. Use short stokes pressing shadow in with your brush. This sometimes will be the main colour of the design. Use a C shape with the shadow. You can go along the whole crease for fashion looks or for larger eyes. With smaller eyes stop your C halfway across the crease. Droopy eyelids will benefit from a matt shade in this area. Colour may be blended into outer half and also to the middle of the eyelid for fashion looks or subtly blended up just onto the brow bone, keeping to the outer ¼ of the eye. This will help lift the eyes. Blend the edges of your shadow. Use light feathery c strokes.
Outer corners. Use a Darker tone of Mineral Eye shadow. Blending a contour of colour into the crease & slightly blend just onto the eye bone to give depth to the eye shape. Press shadow in with your bush. Use small short stokes. Softly blend shadow. Remember smaller eyes are best with depth kept to the outer ¼ section of eyelid. Use a smaller (c) first, you can always add more later, or you may blend a tiny amount halfway along top lash line blending a little more at outside corners.
Smokey eye looks can use the same dark contour colour, under the bottom eye lashes to give definition and softness to the eye. You can also use your medium-tone colour here for a fashion look. For a dramatic effect blend more medium or darker colours 1\2 to 3\4 of the way across the eyelid stopping at the crease.
- All Kylie’s Professional Mineral eye shadows may be used wet or dry.
- Dampen brush with water for a wet application or mix a little ‘Clarity’ creamy lip gloss with your Eye shadow for a bold cream shadow. Then pat a little dry shadow over it to set your shadow. Wet application will achieve a bolder look and Dry application will give you a softer effect.
- Mixing Mineral Eye & Lip Primer with Eyeshadow will create bold Liquid Eyeliners or solid shadows too
9. Eye liner
Use Mineral eye shadow wet or dry, using an Angle brush or Liner brush, Brush on along the top lash line and ½ to ¾ of the way along the bottom lash line. If you would like a liquid line effect you can use Mineral Liquid Eyeliner or Mineral Intensity. Use a fine brush to apply, and then set by gently going over your line with a dry Mineral eyeshadow.
- Mixing Mineral Eye & Lip Primer with Eyeshadow will create bold Liquid Eyeliners
10. Mascara
Jiggle and sweep mascara in an upward motion for top lashes and a gentle sweep down for bottom lashes. Be aware if bags are present under the eyes, mascara on bottom lashes can emphasize the bags because a shadow will be created. Two or Three coats may be applied for dramatic eyes.
11. Brows
Use a matt Mineral shadow and lightly feather short strokes with an angle brush along the eyebrows.
12. Lips
First outline lips with liner then fill in the whole lips with the liner.
You can use wet Mineral eyeshadow and a fine brush to outline your lips.
Apply Mineral creamy lips or lipstick.
You can also use eye shadow mixed with lip-gloss to make your lipstick.
Apply gloss if desired.
Using a lighter colour in the centre of the lips creates a sexy pout.
Follow these make-up tips and you will look like a Mineral Goddess every day! XOXO